Cruise season in Ketchikan may feel far away in April,...Read More

Creating a custom t-shirt is about more than just slapping a logo on cotton—it’s a chance to make a statement, build your brand, and create something people actually want to wear.
At Pacific Printing, we help clients all over Southeast Alaska turn ideas into awesome gear. Whether it’s for a company, event, sports team, or nonprofit, these 7 design tips will help your t-shirt stand out.
Before anything else, make sure your logo is clear, high-resolution, and scalable. Vector files (like .AI, .EPS, or properly set-up .PDFs) are best. If you’re unsure, we’ll help convert your design.
If you don’t have a logo yet, consider working with our design team to create one that:
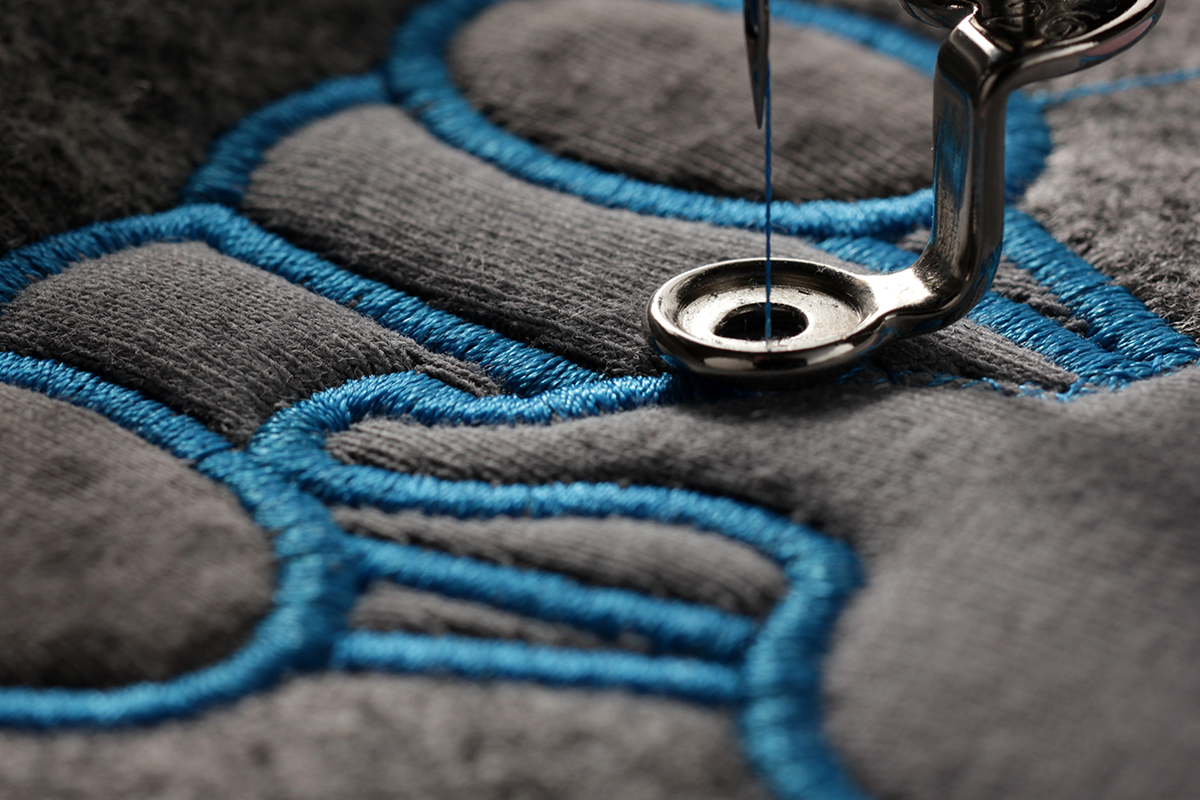
Busy designs with tons of detail can get lost when printed on fabric—especially after a few washes.
Tips:
Remember, less is often more in apparel design.

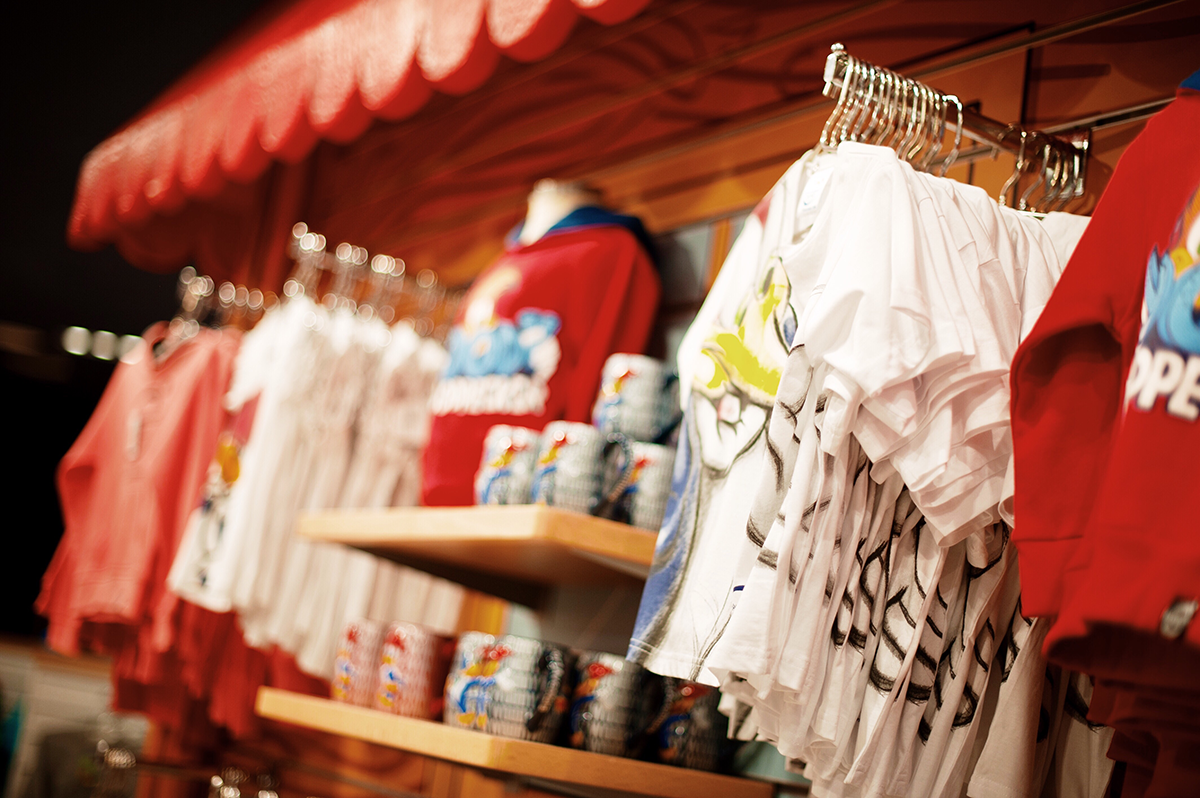
The base color of your shirt affects how your design pops.
Examples:
We recommend mockups for each option so you can visualize before printing.
Where the design sits matters just as much as what it looks like.
Popular placement options:
We’ll help you map out the best layout based on the size and shape of your graphic.
Designing shirts for a youth sports team? Go bold and playful. Creating gear for a fishing lodge? Stick with outdoorsy tones and clean layouts.
Make sure your style speaks to the people who will wear the shirt. Ask yourself:

At Pacific Printing, we always provide a proof before going to press. This is your chance to catch:
Seeing it on-screen—or better yet, as a physical sample—gives you confidence in the final result.
When you print locally, you skip the back-and-forth and actually see what you’re ordering. No confusing templates or automated chatbots.
We walk you through:
And because we’re based in Ketchikan, you don’t have to worry about shipping delays or re-orders taking weeks.
Let’s Make a Shirt People Will Love
Whether it’s one shirt or 1,000, your design deserves to look great. With Pacific Printing, you get more than ink on fabric—you get local expertise, custom design help, and gear that makes a statement.
Start your design today:
Contact Us today to get started!